

You must be well aware that Amazon Web Services is one of the most popular IAAS providers. It has huge number of services and constantly growing every year. So if you are planning to learn / explore / implement services for your need you might need a free account at the first place. So this article helps you to basically create a free aws account.
Prerequisites to create a free aws account
- Better to use an official email address, but even the free email account works.
- Need to have a credit card, do not worry it is only for better authentication. May be a 1 dollar is charged.
What do we get with this free aws account?
- You will get access to a web console where you can wish to choose a desired service.
- AWS provides us 1 year free tier access from the day account is created / confirmed. That is under most of the services it provides, you can choose a service which will be marked as a free tier and no amount is charged to use those services.
- Following are the list of services that are available and free tier
- Elastic Cloud Computing ( EC2 ) – Virtual Machines ( Windows & Linux flavors)
- Identity and Access Management ( Never charged )
- Default Virtual Private Cloud ( Resources configured under VPC can be chargeable, but if you chose any free-tier then for the first 12 months you need not pay )
- Auto Scaling
- Elastic Beanstalk
- CloudFormation
- Amazon S3 ( Simple Storage Solution )
- Many more – find the full list and free usage at AWS Free Services
- Ideally the services marked with free tier are of low configurations, especially the Virtual Machines / EC2s , but still we will be able to use them 🙂
Now that we understood some of the prerequisites and what do we get in free tier aws account, lets get in to the actual steps.
Detailed steps to create an aws account
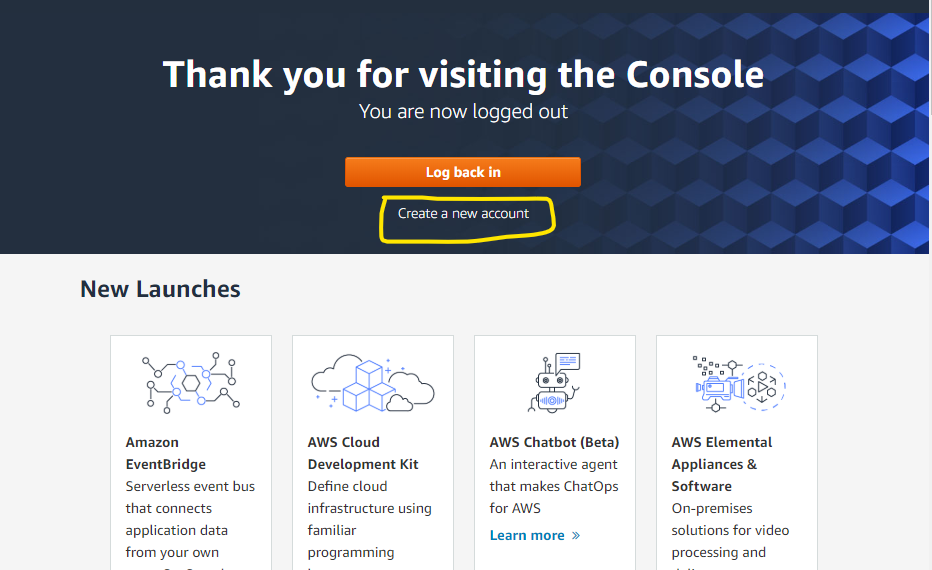
- Navigate to aws console page and click on create a new account link.
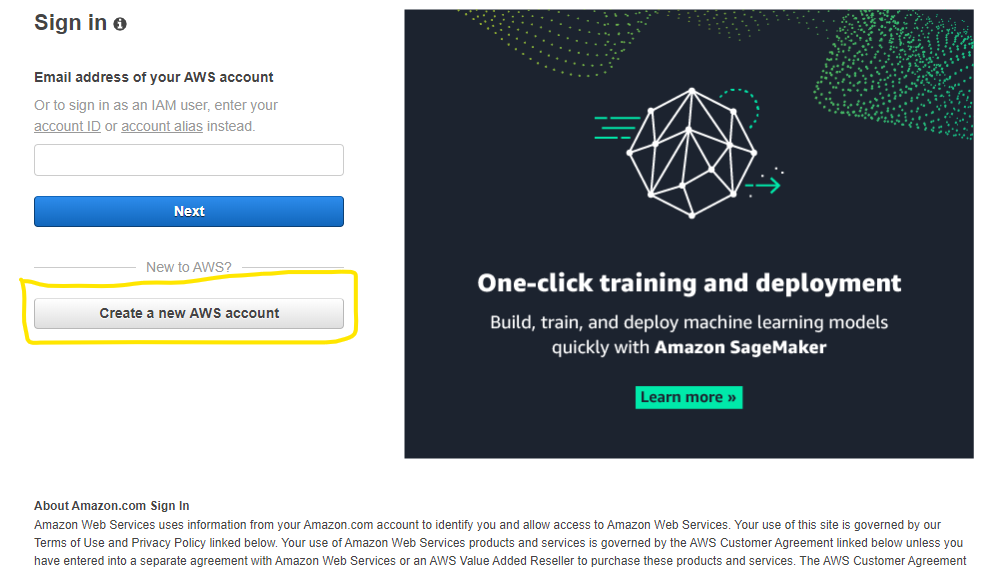
- Click on Create a new AWS Account button.
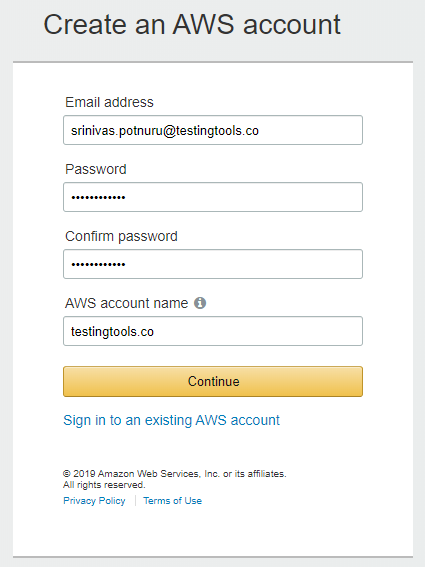
- Enter details in the Create an AWS Account form & click Continue button
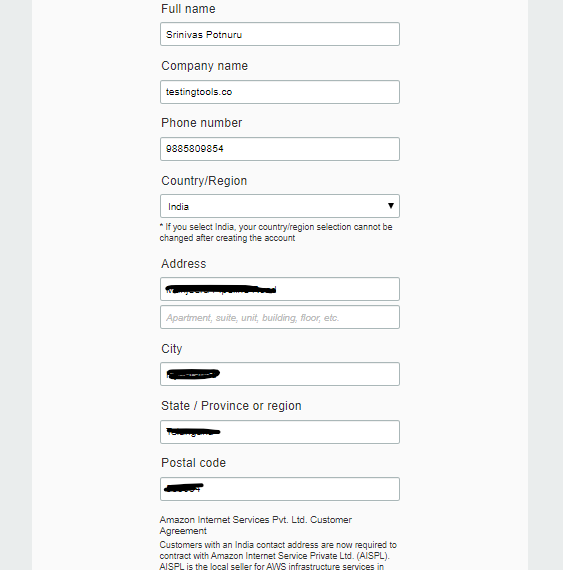
- Enter personal information & click “Create Account and Continue” button at the bottom of the page. You can choose to have professional as selection especially when you are using official email address to sign up an aws account.
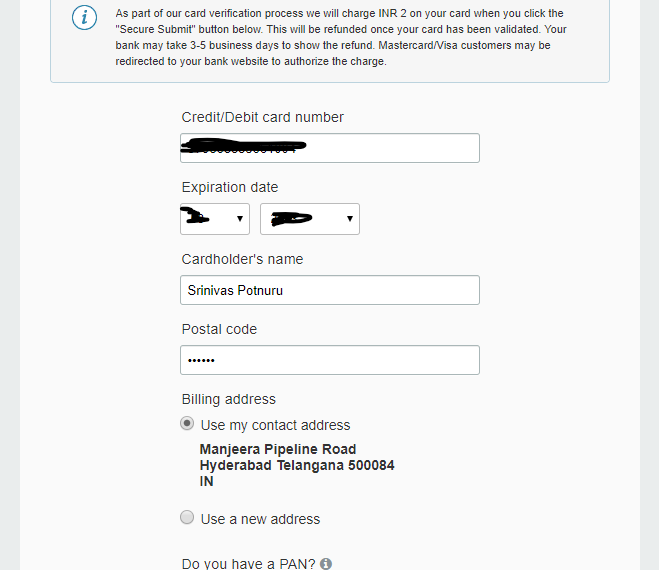
- And the last step is to provide Credit / Debit card details, you might be charged with INR 2 for authenticity. This amount is generally returned in 3 to 4 business days.
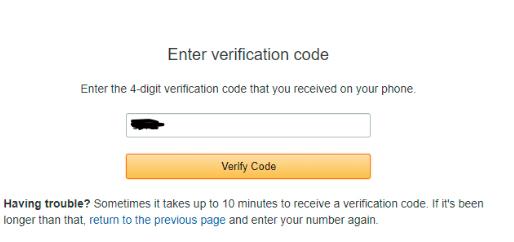
- Click on “Verify and Add” button to enter in to the Confirm your identity screen, where you are asked to enter your mobile number to send verification code.

- Enter the code you recieve on your mobile and click on “Verify Code” button
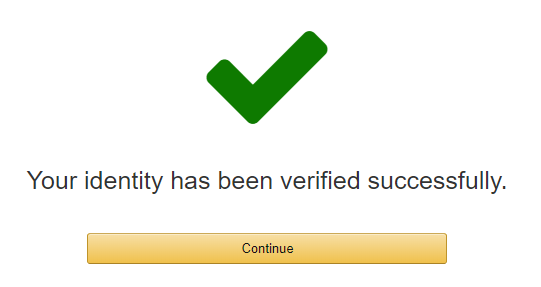
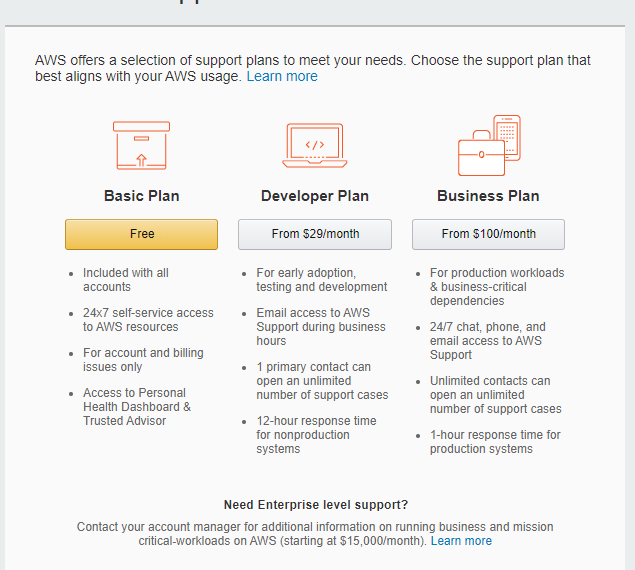
- And you will be presented with Your identity has been verified successfully. Click on Continue button to select a support plan.
- You can choose Basic Plan and click on Free button.
- Later you will get a message on the screen saying that thank you for creating the Amazon Web Services Account and will send an email once the account is setup. This will generally take a few minutes to complete.
- The email looks as below and you are all set to login and start using the aws free tier account.
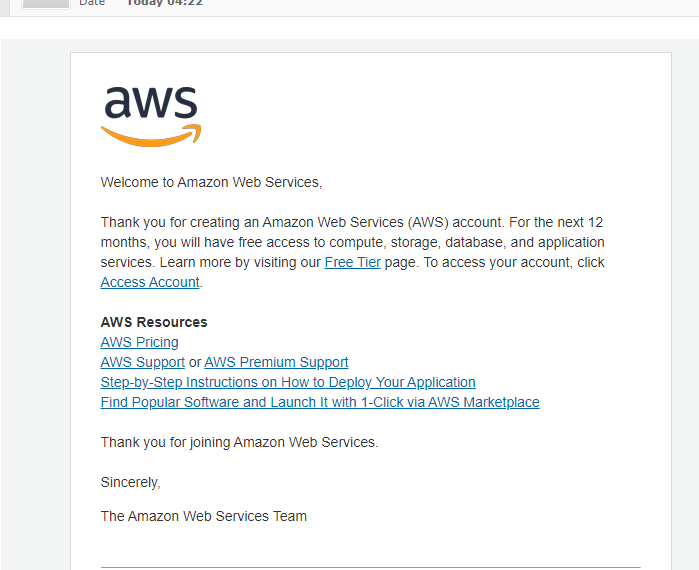
Search for aws console login and there you can login with your root account credentials.
