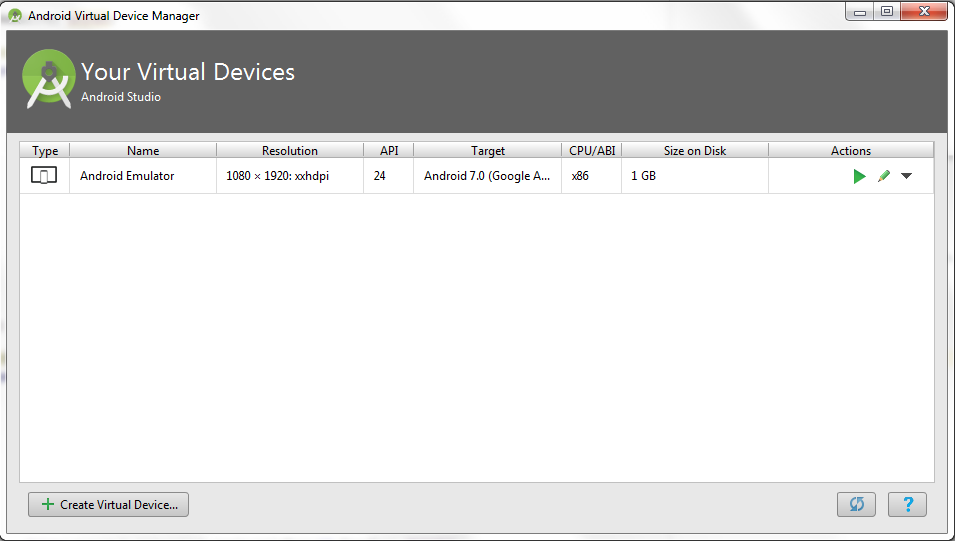
You have now arrived to the last step, i.e. to execute your first test automation script on a mobile emulator for mobile app testing. As part of this article you will get to know the steps to start emulator or android virtual device and run the test automation script which was created in earlier steps: create your first test automation script for mobile app testing
Steps to start mobile emulator or Android Virtual Device
- Open android studio.
- Open your project.
- Click on AVD Manager.

- Click on green play icon and wait for the Android Virtual Device to start.


- Verify if device is being detected properly or not.
- Open command prompt and give following command
- c:\{folderpath} adb devices
- You should be seeing one virtual device running along with the port, which means the emulator had successfully started.
Important Note: Always start the emulator post the Appium server is up and running, other we recommend you to stop the emulator, start the appium server and then start the mobile emulator
Steps to execute your first test automation script – android studio
- Select the project view in android studio

- Expand the tree node {projectname} > app > src > test > java > {packagename} > {YourTestScript.java}
- Right click on the java file or double click the java file node, and on the right side of the android studio editor right click to open the context menu and select the menu option Run {YourTestScript.java}

- The test execution starts, you may want to keep the emulator on the front to see the execution happening.
- In order to see any debug messages you could see the log that gets printed on the appium server or in the event logger of Android Studio
- Once execution is complete you can see the results in Android Studio console saying script execution complete and passed.


