
Now is the time to create a android virtual device or mobile emulator in android studio IDE, it is the place where you want to execute the test automation script that you have created in earlier step.
This is a one time step, but you may have to perform this repeatedly whenever you want to work with a new virtual device bearing different versions of Android, API, device type & dimensions. You can run the automated test scripts in these virtual devices to simulate mobile app testing on real devices.
In a real time project when you work with farm providers like AWS, they provide different virtual devices or mobile devices where you can execute your test automation scripts for mobile app testing. When you are working with farms like above, you may have to tweak a little bit of code or configurations. We will try to cover these details in future posts.
In this article you will learn how to create a virtual device or a mobile emulator in android studio @ your machine / laptop.
Steps to create a virtual device using android studio:
- Open Android Studio
- Click on AVD Manager visible on tool bar present on the top of IDE

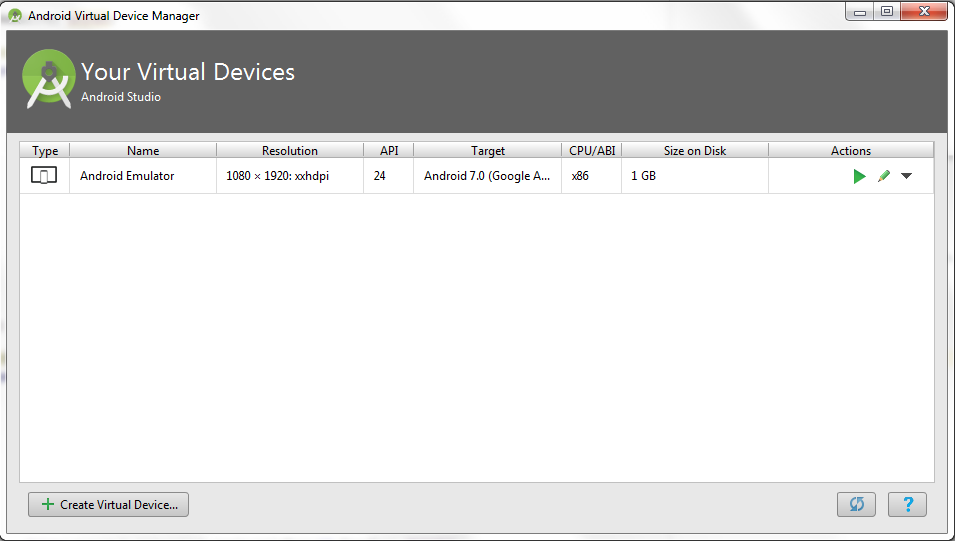
- You would be presented with a “Android Virtual Devices” Window
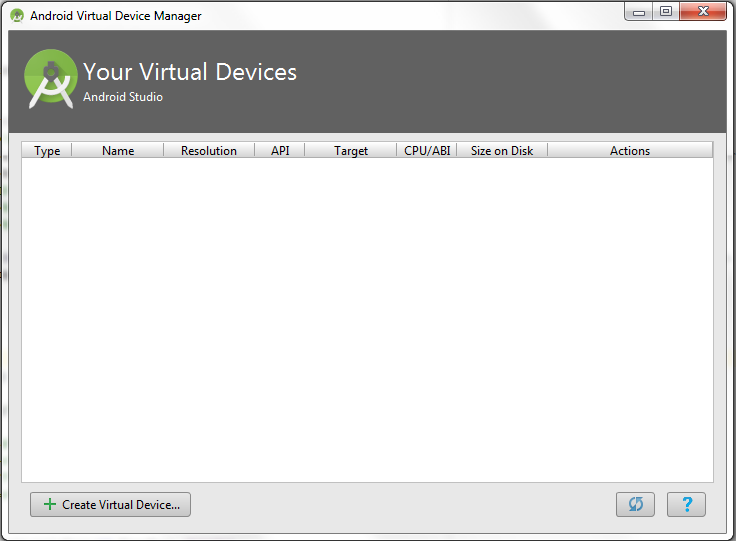
- Click on “Create Virtual Device…” button
- Choose a device definition and click Next button

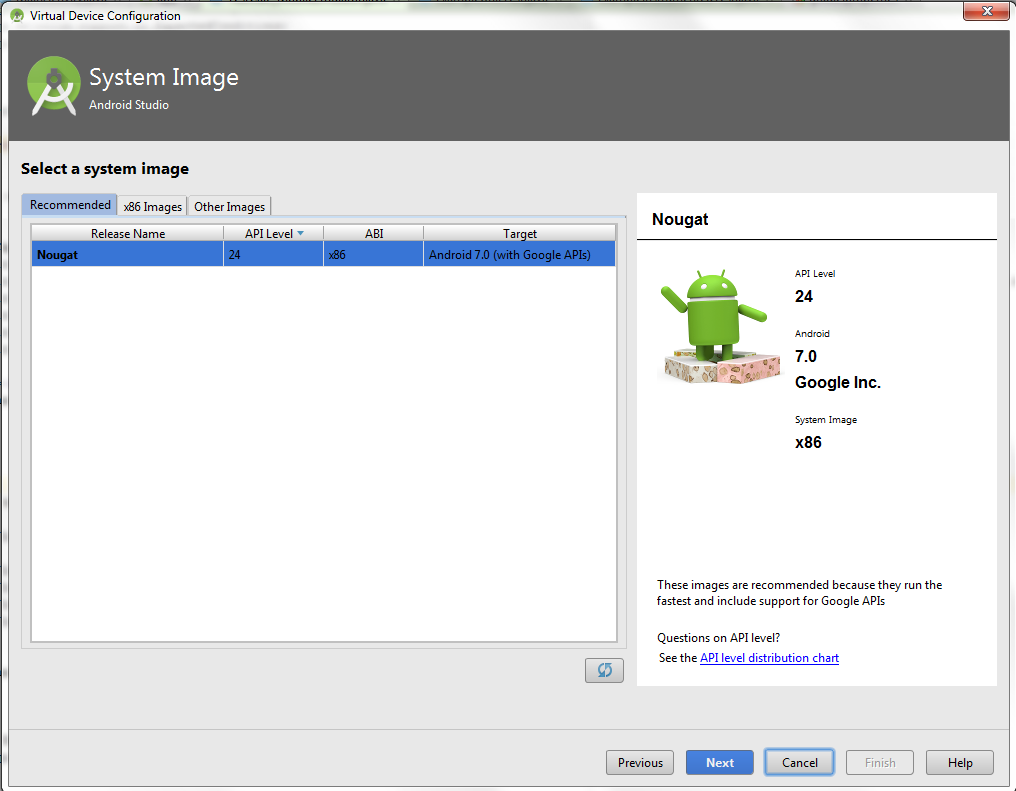
- Wait for the Images to load, it might take some time.
- Choose a desired image ( You will also have the API level information ) and click Next button.
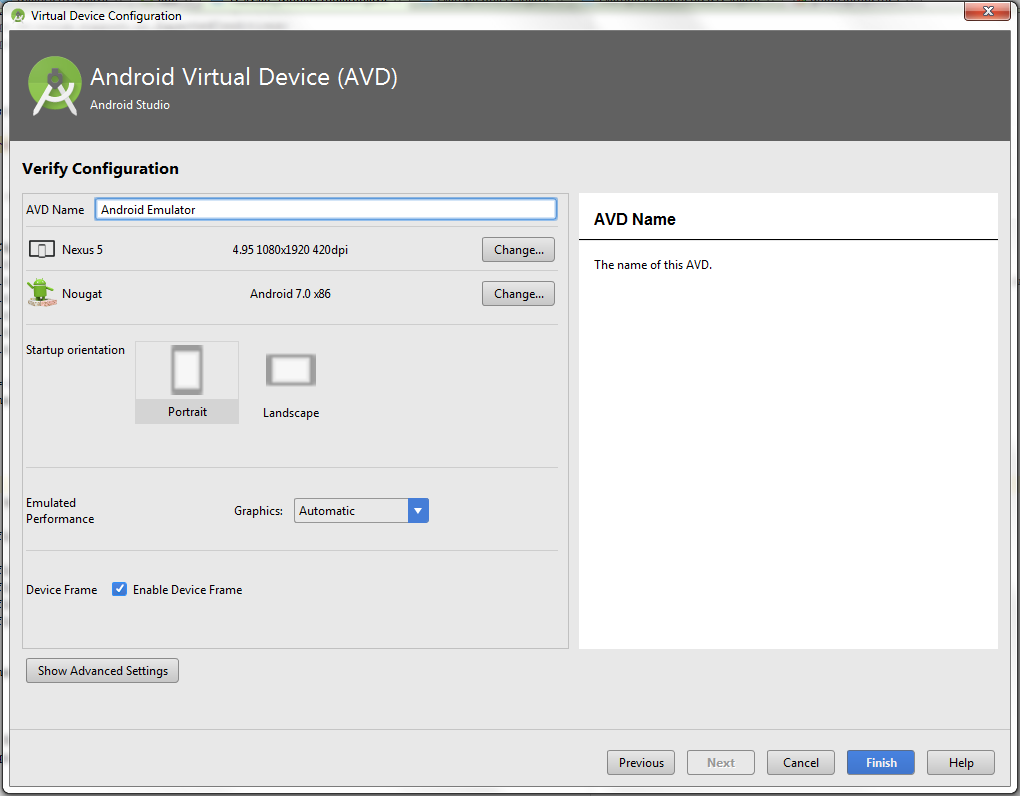
- Verify if all details are fine, Give any AVD name of your interest and click Finish button.
- You will be presented with list of Android devices as below:
Note:
During the process, it might ask you to install HAX, I would recommend you to go ahead and install the same, it helps in loading the mobile emulator at faster pace without delays.
Request to share any of your queries in form of comments section of the blog, we would try our best to provide the solution.
