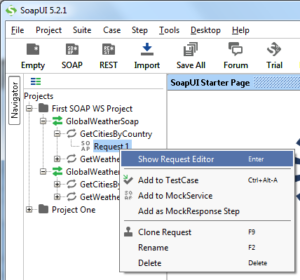
In the article web services testing in SoapUI you have seen how to create a SOAP project add WSDL and give input to a request and submit to get the response of the SOA Web service. In this article you will know how to add request to a test suite, executing a test case and then add Assertions to verify the responses.
Step by step instructions to add a request as a test case to a test suite.
- Once you are on the Request Editor Window, i.e. post creating SOAP project and entering test data for a method.
- Click on
 Icon to add the current request to a test case.

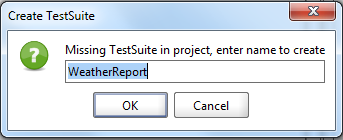
- You would be popped up with a small dialog window to enter a test suite name.
- Enter desired name( ex: WeatherReport ) and click on OK button.
- Enter desired test case name ( ex: GetCities ) that you want to give for this request in the test suite and click OK button.

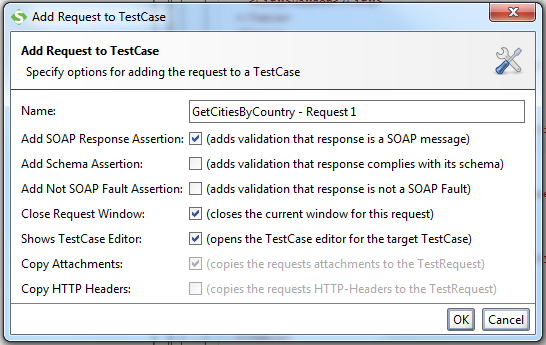
- You will be presented with a window with several check boxes as what all validations you want to include by default when adding this request as a test case in the test suite. Leave the defaults and click OK button for now.
- The test suite gets created with name WeatherReport (present in the left side of the below image) and you will also see “GetCities” window, where “GetCities” is your test case name.

- Click on Submit Icon
 to execute the test case, which has only one test step i.e. to getCitiesByCountry.
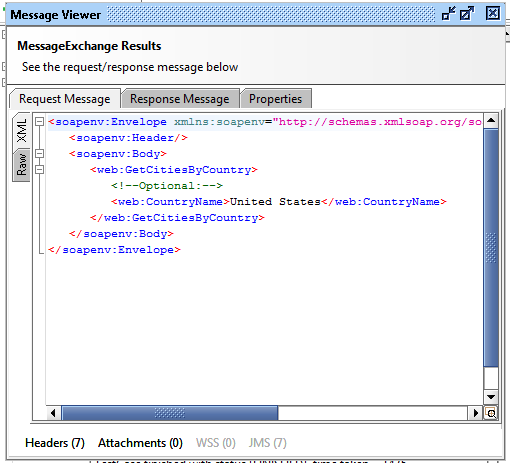
 - In the test case log, double click on Step 1 to open the Message Viewer window, in this window you can see the three tabs:
- Request Message – Shows you the submitted request payload
- Response Message – Shows the response XML for this execution request.
- Properties – Shows you the list of properties of this request like the Time Taken to execute, Encoding, Endpoint url, and time stamp when the request got executed. It also has other properties which are not relevant for the current article.
- Close the Message Viewer window to continue the usage of the tool.
- If you want to add more test steps in a test case, you can right click on test case in the left side tree and select “Add Step” you will be presented with a context menu having lot of types of test steps that you want add. We shall have another article to discuss in detail about each type of test step.

Now that you are aware of adding request as a test case in a test suite.
Lets look at step by step instructions to add Assertions and submit the web services request.
- Close the GetCities Window in continuation to above steps.
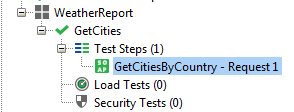
- On the left side, double click the request present at WeatherReport>GetCities>Test Steps(1)>GetCitiesByCountry – Request 1, you would now be presented with GetCitiesByCountry – Request 1 Editor
- At the bottom you can see a green icon as Assertions (1) , click on it, you can see the list of assertions available for this request.
- Click on
 Icon to see the “Add Assertion” Window, in this window you can see the list of assertions that you can add to this request / test case.
 - We shall write another article to give detailed description for each of the Assertions and type of assertions, in this article lets see how you can add a “Contains” assertion, which checks if the returned response contains a text which you are expecting to have.
- Select “Contains” under “Property Content” Assertion type and click “Add” button.
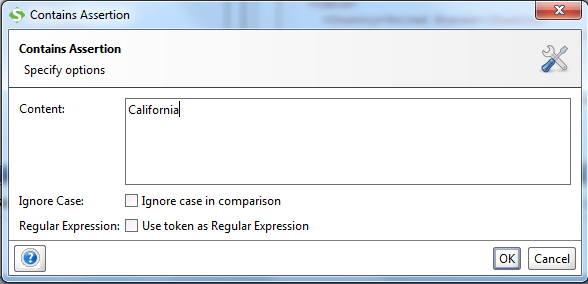
- In the Contains Assertion window, give your text which you want to verify if it is present in the response returned.
- You can use options like Ignore case or use token as regular expression based on your need.
- Click on OK button to add assertion to the request / test case.
- The moment assertion is added, SoapUI intelligently validates if the latest response and results with pass or fail. In this instance the assertion failed when we added “California” as the Contains Assertion text as shown below:
- We would suggest you to play around these assertions and see the results accordingly, as a practise try to add a Contains Assertion with text “Midway”, you should be getting a pass result for this example.
Now that you have learnt how to add Assertions in a test case, please give some trials till we come up with a next article around SoapUI.
In case of queries, please ask us through comments, we would be more than happy to help you.


