

Now that you are aware of different types of recording in UiPath and their significance, lets actually not wait more and get in to how to record and execute in UiPath. In this article we will focus on automating operations on a desktop application “calculator”.
Steps to record and execute in UiPath
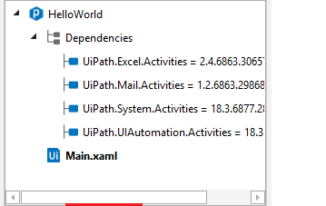
- Create a new project of type “process” in UiPath
- Click on record button and select “Desktop” option.

- You will be presented with a new tool bar with options for Desktop recording.

- Click on record button of the new tool bar that appeared.
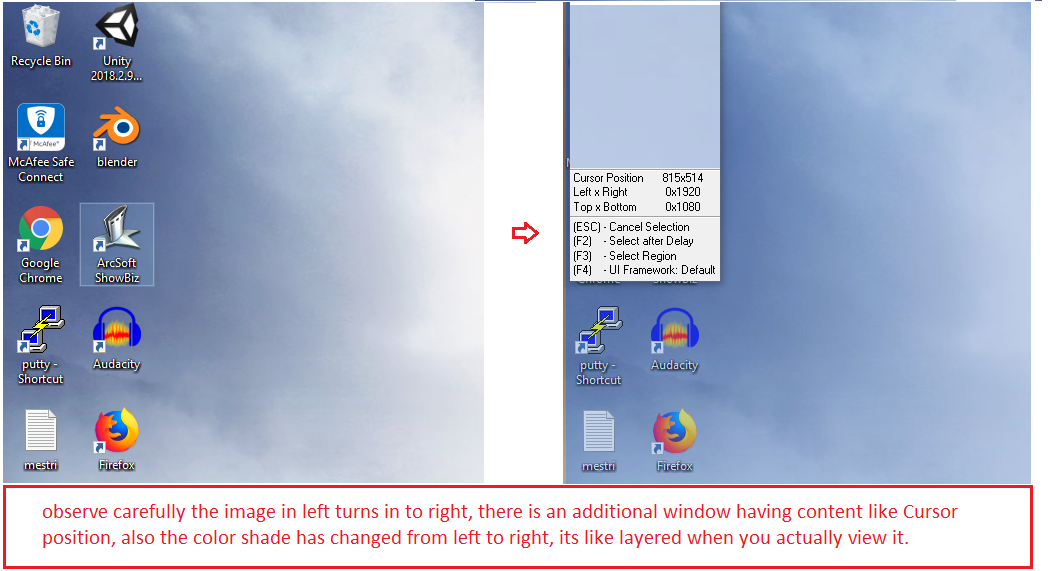
- Your entire screen becomes like a layered screen.
- Press Windows + R and type “calc” in the run window and click “Enter”
- You will still be in a layered screen type of view.
- Once the calculator application is opened, perform operations like ” 7 * 6 = “, but you may have to do it slowly.
- Click each button on calculator application and wait till the action is actually reflected in the calculator application.
- At the end of the operations, say 7 * 6 = , you will see “42” in the display area.
- Click on the display area so that the display area is also captured in to the recorded sequence.
- That’s it you are done with recording user interactions on the desktop application “calculator”, press “Esc” key on keyboard to end the recording process.
- Click on Save & Exit button the Desktop recording toolbar. It will take you to the main UiPath studio screen.

The recorded steps look like below image: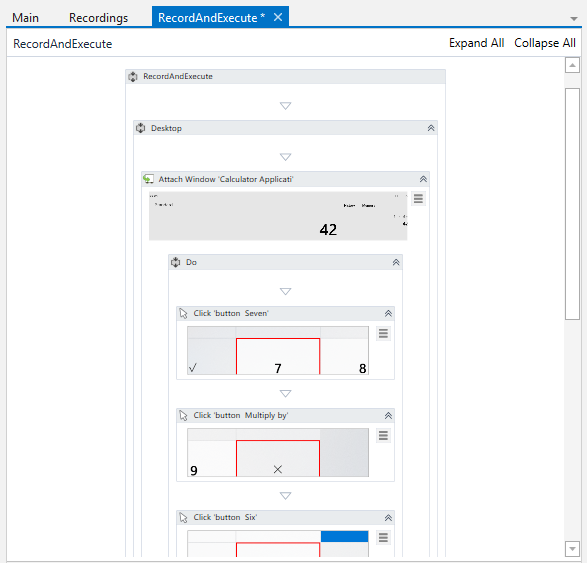
Now lets get into the execution part of the recorded User Interactions of calculator ( a windows desktop application )
- While you are still in the UiPath studio window.
- Click on the green run icon on the main toolbar

- The UiPath robot gets invoked and tries to execute whatever is present in the project.
- It performs the exact same operations, which we did just some time back during the recording stage.
An important note here is that, it executed properly because the calculator is already open, in case we close the calculator and execute the same project again. The UiPath robot fails to execute the project.
So what do we have to do now? well its simple, you just need to add an activity which will open the desktop application “Calculator” just before all other steps in the project.
- Search and add an activity by name “Open Application” just before the actual steps.

- Click on “Indicate window on screen” link
- Select the calculator window

- Now UiPath activity automatically identifies the application it needs to open. You can know that by looking at the properties as below:

- That’s it you are done.
Now your project executes perfectly fine even if the calculator application is not opened before triggering the execution.